From a fresh machine to your first agent in one command
The November 13 update adds uremot setup, Set up with your AI, a Windows installer, and accepting the terms without leaving your terminal.
Today's update puts your first agent one command away: uremot setup. It comes with a button that hands the whole
setup to your AI, an installer for Windows, and a terms step you finish in your browser while the command waits.
They ship in the desktop app and the uremot command, version 1.1.0, and on uremot.com.
uremot setup#
After the installer, uremot setup takes it from there. It shows you its plan first, then:
- adds this machine to Uremot, on Linux with a container engine;
- connects Claude Code, Codex and OpenCode, each with its own
mcp addcommand; - installs the Uremot skills for each one;
- runs each one's own sign-in.
It ends with one line per harness it changed: Restart <harness>, then ask it: "Set up my first Uremot agent."
Add --dry-run to see the plan and change nothing. Here it is in a fresh home on Linux, with Claude Code installed
and no container engine yet:
$ uremot setup --dry-run
This machine:  not enrolled            → enrolls once a container engine answers
Containers:    no engine answers       → Install Docker Engine: https://docs.docker.com/engine/install/
Claude Code:   found, not connected    → add Uremot's MCP server, install the skills, sign in
Codex:         not found
OpenCode: not foundRunning it again changes nothing that is already done. If a harness already has a uremot server pointing
somewhere else, setup tells you and leaves it alone.
On macOS, setup points you to the desktop app to add the machine, and still connects your harnesses. It doesn't run on Windows yet: there, the desktop app is the way in.
Set up with your AI#
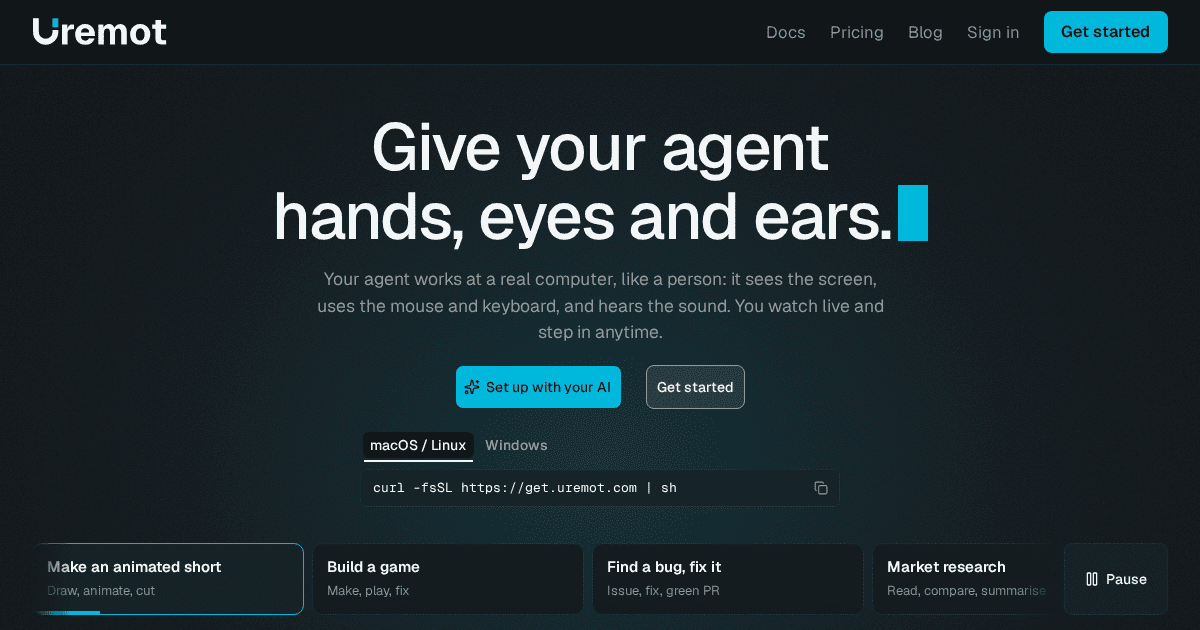
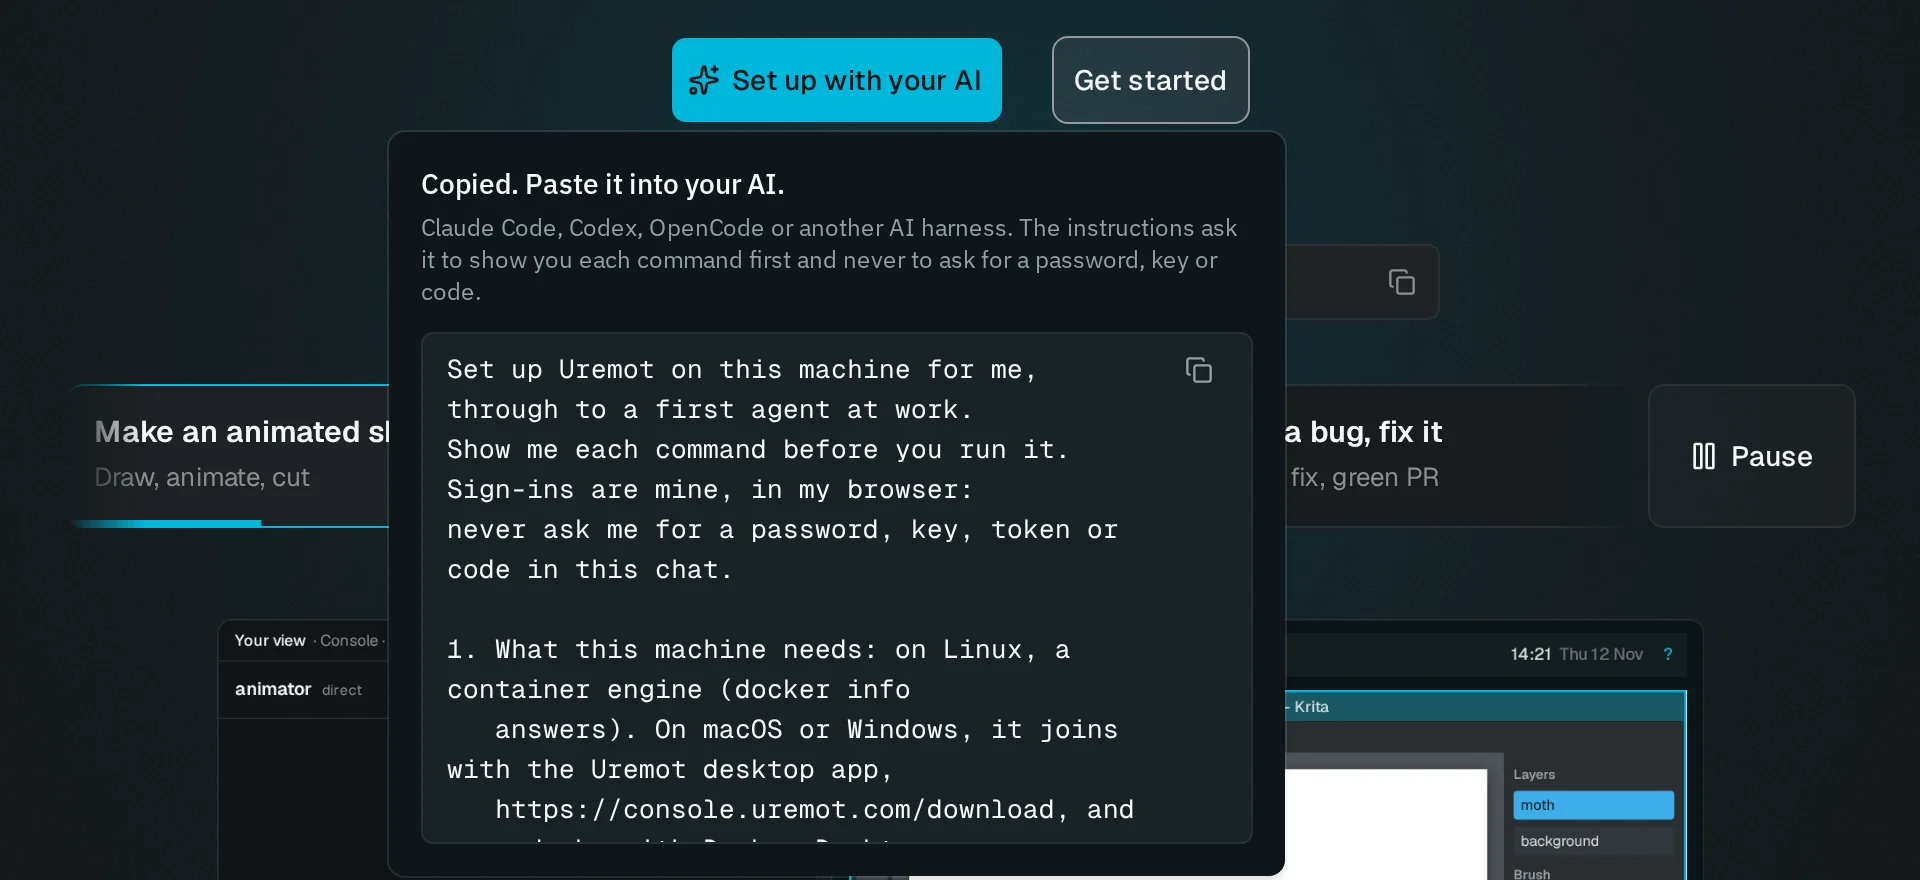
Rather not type the commands yourself? Set up with your AI, on uremot.com and in the Console's header, copies the setup instructions. Paste them into Claude Code, Codex, OpenCode or another AI harness. The instructions ask it to show you each command before it runs it, and never to ask you for a password, key or code. Sign-ins stay in your browser.
An installer for Windows#
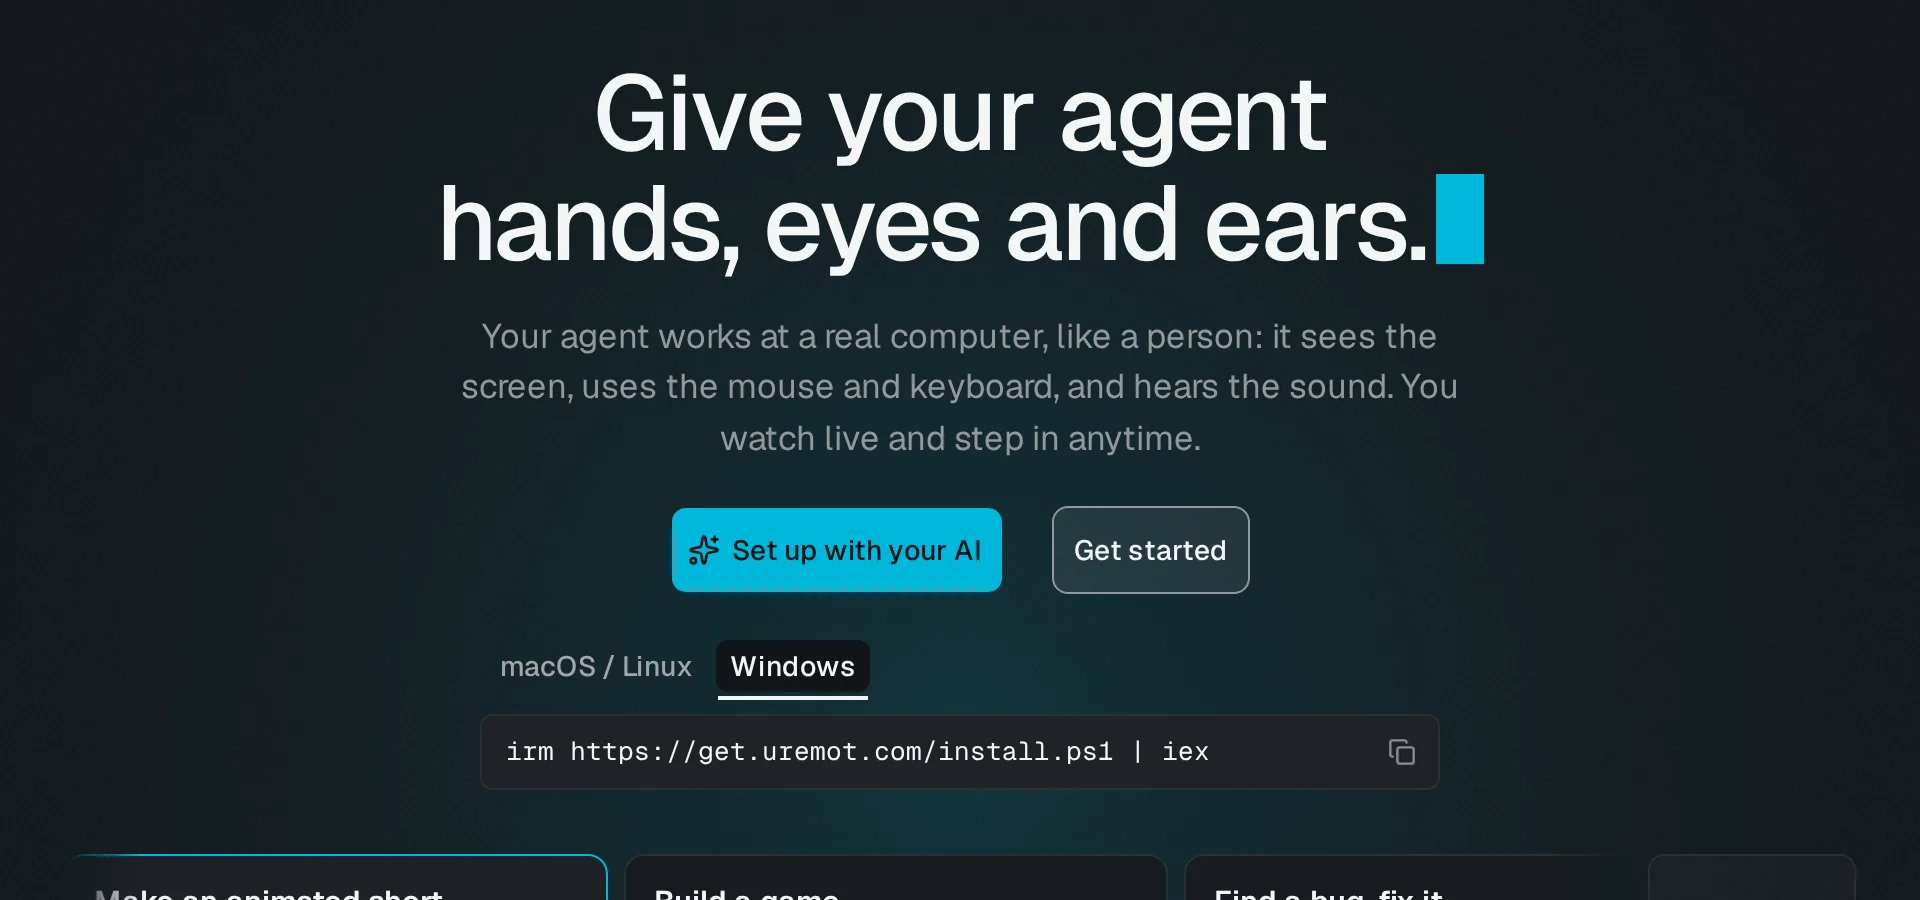
In PowerShell:
irm https://get.uremot.com/install.ps1 | iexOn 64-bit Windows, it installs uremot for your user, with no administrator rights, and adds it to your PATH. It works in Windows
PowerShell 5.1 and PowerShell 7. It ends by pointing you to the desktop app, which adds a Windows machine to
Uremot.
On macOS and Linux the installer is the same as before, and its last line now names the next command:
uremot setup.
curl -fsSL https://get.uremot.com | shAccept the terms without starting over#
If your account still has to accept the terms, the command no longer just stops. It prints the link, opens it in your browser, and waits. These are its lines, with your link and time:
Accept the terms to continue: <link>
Waiting for you to accept (from any device, until HH:MM)...Accept on any device, and the command carries on. It waits up to 5 minutes. Without a terminal, for example when an
AI runs it, it prints the link and stops, so you can accept and run it again. This works in uremot setup,
uremot compute enroll --sign-in, uremot compute recover --sign-in and uremot publish.
Try it#
Run the installer for your system, then uremot setup. Or press Set up with your AI on
uremot.com and paste it into your harness.
Get started, or connect a harness by hand. Everything in this update is in the November 13 changelog.